
How to Choose the Right Air Filter for Your HVAC System
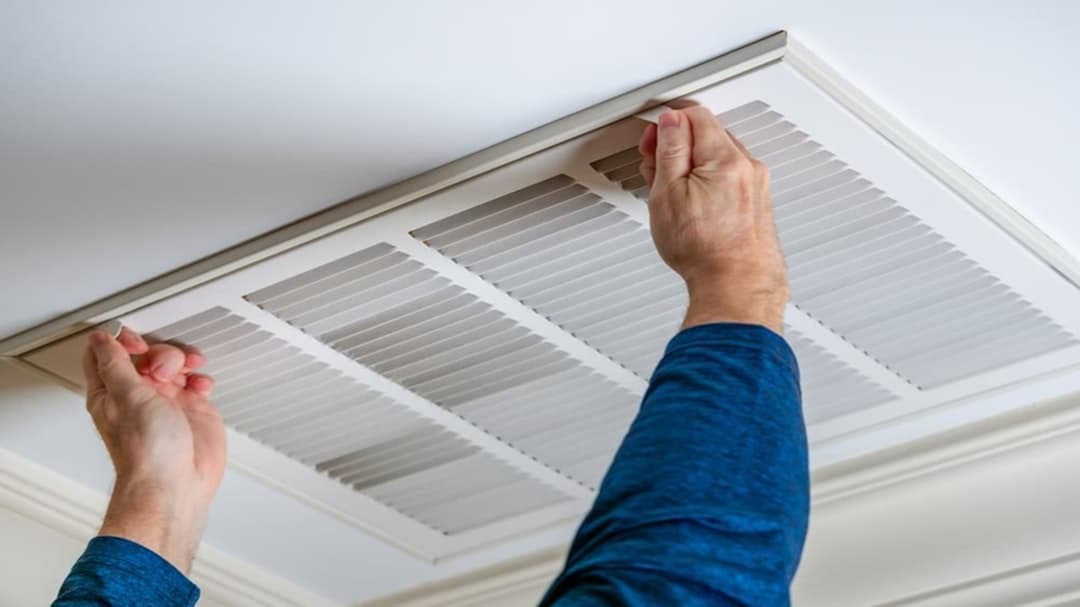
How to Choose the Right Air Filter for Your HVAC System
The filter aisle is designed to confuse you. Twenty boxes that all fit the same slot, prices running from four dollars to forty, and a different rating scale printed on almost every brand. The packaging implies that spending more is always better for your air, which is not quite true, and occasionally the opposite of true.
There are really only three decisions: the size, the MERV rating, and the type. Get those right and you can ignore everything else on the box.
Step 1: Get the Size Exactly Right
The size is printed on the frame of the filter you already have, in the format length by width by thickness. A common one is 20x25x1.
Two things trip people up here.
Nominal size is not actual size. A filter labeled 20x25x1 actually measures about 19.5 by 24.5 by 0.75 inches. That is intentional and every manufacturer does it, so buy by the printed nominal size and do not try to correct it with a tape measure. Only measure if there is no old filter to read and no size stamped on the filter housing, and in that case measure the slot itself and round up to the nearest standard size.
Thickness has to match your cabinet. A one inch slot will not take a four inch filter. If you want the thicker media filter discussed below, that is an equipment change, not a shopping decision.
A filter that does not fit properly is worse than a cheap one that does. Air takes the path of least resistance, so a half inch gap around the frame means a large share of your air goes around the filter instead of through it. That is a forty dollar filter performing worse than a five dollar one.
Step 2: Understand MERV, and Ignore the Other Scales
MERV is the industry standard rating, running from 1 to 16 for residential filters. It describes the size of particle the filter captures. Some brands print their own scale instead, usually MPR or FPR, which are marketing systems built to look bigger. They convert roughly, but MERV is the number to shop on.
- MERV 1 to 4. Flat fiberglass panels. These exist to keep debris out of your blower, not to clean your air. They stop lint and little else.
- MERV 5 to 8. Basic pleated filters. Catch household dust, most pollen, and mold spores. A reasonable floor for any home.
- MERV 9 to 12. Finer dust, pet dander, and a good share of the particles that trigger allergies. This is the range that suits most Northwest homes.
- MERV 13 to 16. Smoke particles, bacteria, and the fine material that gets deep into your lungs. Genuinely better air, but only if your system can move air through it.
Step 3: Check What Your System Can Actually Handle
This is the step the packaging never mentions. A denser filter restricts airflow, and your blower was sized for a certain amount of resistance. Push past it and the system does not just work a bit harder, it starts misbehaving.
The warning signs of a filter that is too restrictive:
- A whistling or sucking sound at the return grille
- Rooms furthest from the furnace going noticeably cold in winter
- The furnace lighting, running briefly, then shutting down and retrying, which is often a high-limit switch tripping on restricted airflow
- An indoor coil that freezes over in summer
- Heating and cooling bills climbing with no change in the weather
This matters most in one inch slots, which have very little surface area to work with. It matters more still in older Vancouver and Portland homes, where the ductwork was often sized tight to begin with and has had decades of additions and repairs since.
If your house needs MERV 13 filtration, the right answer is usually not to force a dense one inch filter into the existing slot. It is to have a four or five inch media cabinet installed. The thicker filter has several times the surface area, which means high filtration with less resistance, not more.
Step 4: Pick the Type
- Fiberglass. Cheapest option, equipment protection only. Fine if nobody in the house has allergies and you genuinely change it monthly, but there is little reason to choose it over a basic pleated filter.
- Pleated. The default, and the right answer for most homes. The folds create surface area, which is what lets it filter well without choking airflow.
- Media cabinet, four to five inches. An installed upgrade rather than a purchase. High filtration, low resistance, and changed once or twice a year instead of monthly.
- Washable or electrostatic. Reusable, which sounds appealing. In practice most sit at the low end of the MERV scale, and they have to be completely dry before going back in. A damp filter in a dark return is an excellent place to grow mold, which is a real risk in our climate.
- Carbon or odor filters. Carbon helps with smells rather than particles. Useful alongside a MERV rating, not instead of one.
- True HEPA. Does not fit a standard residential filter slot and cannot be made to. Whole home HEPA requires a dedicated bypass unit. If a box in the hardware store says HEPA and fits your one inch slot, it is not true HEPA.
Step 5: Match It to Your House
Once you know what your system tolerates, the choice comes down to who lives there.
- No pets, no allergies: MERV 8 pleated is genuinely enough
- Pets, or mild seasonal allergies: MERV 11
- Asthma, significant allergies, or anyone sensitive to summer wildfire smoke: MERV 13, but confirm the system can handle it first, or install a media cabinet
Wildfire smoke is the strongest local argument for higher filtration. Our summers now regularly bring stretches where outdoor air quality is poor for days, and during those weeks the filter in your furnace is doing more for you than anything else in the house.
Five Mistakes That Cost Money
- Installing it backwards. Every filter has an arrow on the frame. It points in the direction of airflow, which means toward the furnace or air handler, away from the return duct.
- Leaving the wrapper on. It sounds obvious. It happens constantly, and it will shut a system down.
- Buying one at a time. A year of filters bought together costs meaningfully less than twelve individual trips, and you actually change them on schedule when the box is sitting right there.
- Guessing in a house with several returns. Different returns often take different sizes. Write the size on the grille frame in pencil once and never measure again.
- Assuming higher is always better. A MERV 13 filter in a system that cannot pull air through it filters less than a MERV 8 that fits its capacity, because a struggling blower moves less air past the filter in the first place.
How Often to Change It
Short version: check one inch filters monthly and expect to replace them every one to three months. Four to five inch media filters run six to twelve months. We cover the details in our separate post on how often to replace your furnace filter.
One local adjustment worth knowing: because our heating season is long and mild rather than short and severe, systems here run many more hours than the filter label assumes. A filter rated for 90 days can be visibly loaded at 45. Trust what it looks like over what the box says.
The Short Version
- Buy the nominal size printed on your current filter, and make sure it seats with no gaps
- Shop on MERV, not on brand specific scales
- MERV 8 for a simple household, 11 for pets or allergies, 13 only if your system supports it
- Choose pleated over fiberglass; consider a media cabinet if you want serious filtration
- Check the airflow warning signs after switching to a denser filter
- Mind the arrow, lose the wrapper, and buy a year at a time
If you are not sure what your system can handle, that is a fair question to ask rather than guess at. Our team works throughout Vancouver WA and the Portland metro area, and we are happy to tell you what your equipment is rated for before you spend money on filters it cannot use.